
In this post, I will go over pouring the pier foundation for a 12’ x 12’ cabin. If you haven’t read Part 1 on how to layout this foundation check it out first. We used Quikrete 5000 concrete for our foundation. This commercial grade high early strength mix is targeted for projects thicker than 2 inches. One 80lb bag of concrete yields 0.60 ft3 of finished concrete. Foundations will vary in size based on the site on which they are built. Use online volume calculators to determine how many bags of concrete you need, then buy more than you need. It is better to have more concrete than to start pouring and run out of concrete.
The manufacturer recommends 2.8 to 4.7 liters of water per 80 lb bag. When mixing concrete, start on the low end of this water amount and mix to achieve a desirable mix. Mixing concrete is like the building version of pancake mix. The stakes are much higher though. When mixing concrete, you are looking for a pudding-like mixture. Too runny, and you risk weak concrete. Too dry and you risk the concrete not adhering to itself. Our off-grid property does not have running water, so we used the high end of the water amount to calculate how much water we would need to mix. A family member with a 4-wheeler pulled a water tank on a trailer to provide us with water.
After pouring, Quikrete 5000 has an initial “walk-on” time of 10-12 hours. According to the manufacturer, it reaches 70% strength in 7 days and the complete 100% in 28 days. After our initial pour, we took off for the work week and were ready to resume building when we returned the next weekend.
All of this information is specific to the kind of concrete we used. Check the manufacturer’s recommendation on water content and set times for whatever concrete you use.
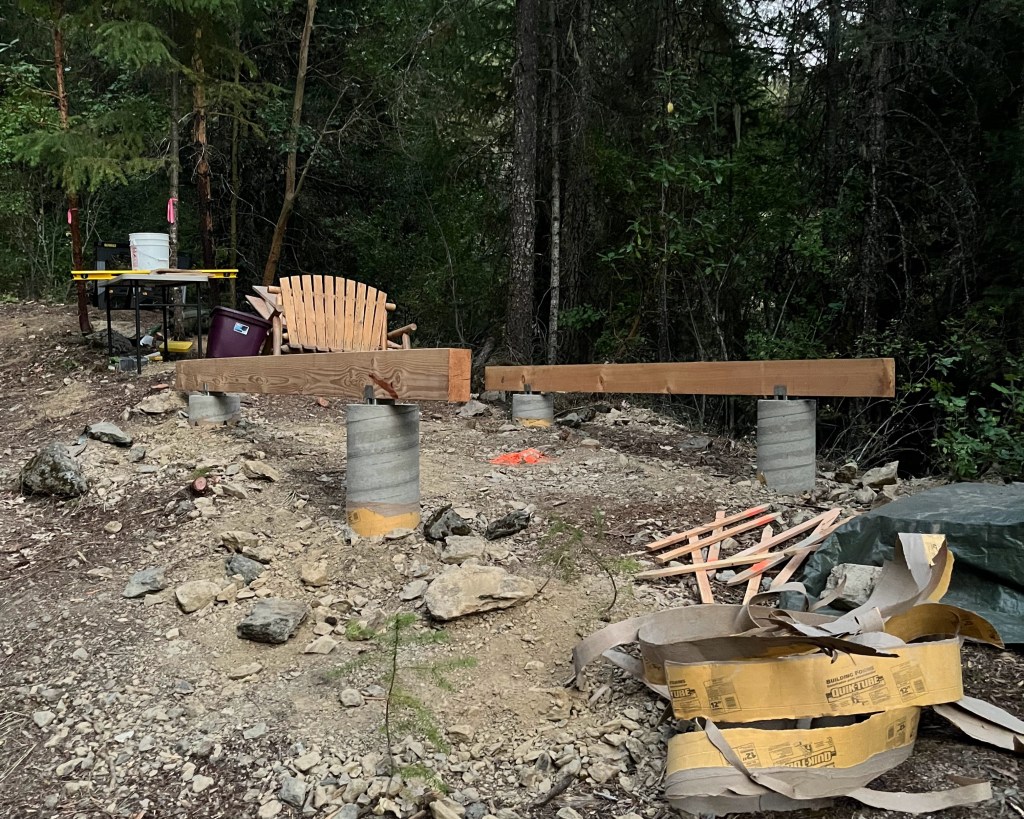
Once the forms are filled with concrete, you need to attach an anchor bolt to the concrete pier to fasten a metal post brace (see pictures below). Make sure you select an anchor bolt that fits the metal bracket. This metal post base holds the 4” x 8” x 12’ beam that the cabin rests on. The metal also keeps the untreated wood off of the concrete.
With the forms set, let’s start pouring:

- Double check that all the forms are level to the string line.
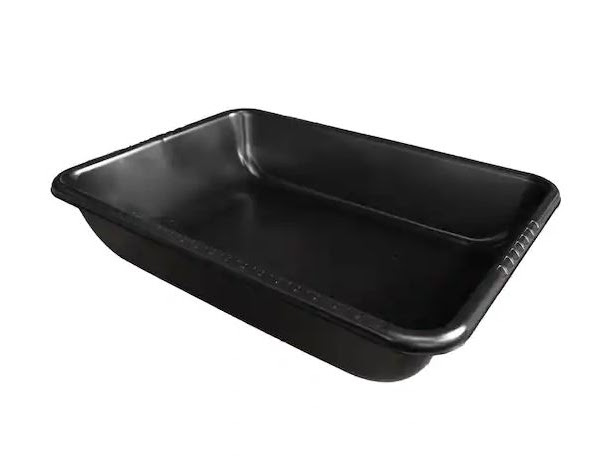
2. Mix concrete based on the manufacturer’s recommendations and the recommendations above. We used a mixing tub pictured above and mixed it with a shovel and ho. Make sure the mix is even, and there are no dry spots.

3. Add concrete to the forms. As you add, poke it with a stake to release air pockets. Make sure the concrete spreads to all corners of the footer. You can also tap the side of the Sonotube to help the concrete settle.

4. As the concrete reaches the top of the form, level it off in a scraping fashion with a board to match the top of the Sonotube.

5. Add the anchor bolt to the center of the Sonotube. I did this by drilling a hole in a scrap piece of wood, inserting the anchor bolt in the hole, and securing it with a nut. This holds the bolt in place while the scrap wood holds it in position.
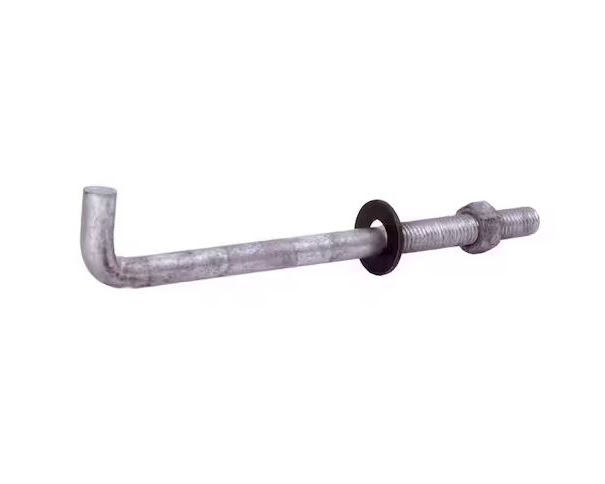
Anchor Bolt

Bracket
6. Double check the forms + concrete are level to the string line

7. Let this all set for a week.

8. After a week, peel the Sonotube cardboard off and remove the wooden braces holding the anchor bolts in place.
9. Install Metal Bracket on Anchor Bolts

10. Place 4” x 8” by 12’ Skids in brackets and center them to have a relatively equal overhang on both sides.
11. Check the level with a 4’ level on each individual skid, then place a flat board across both skids to check the level in relation to each other.
12. If not, level shim appropriately.
13. Screw skids to the bracket in the appropriate holes on the bracket.
I’m not going to lie; when I built this foundation, I thought it would be at least ¼” out of level. When I checked the level after placing the skids I was blown away that it was perfectly level. Attention to detail when setting your foundation forms goes a long way. If your foundation does not turn out perfectly level, shim appropriately.
You now have a level platform to build from! Next week I will be discussing how to frame and insulate the floor. Subscribe in the email box to never miss a post!
For free construction plans for the full 12′ x 12′ cabin build click: here.

Leave a comment